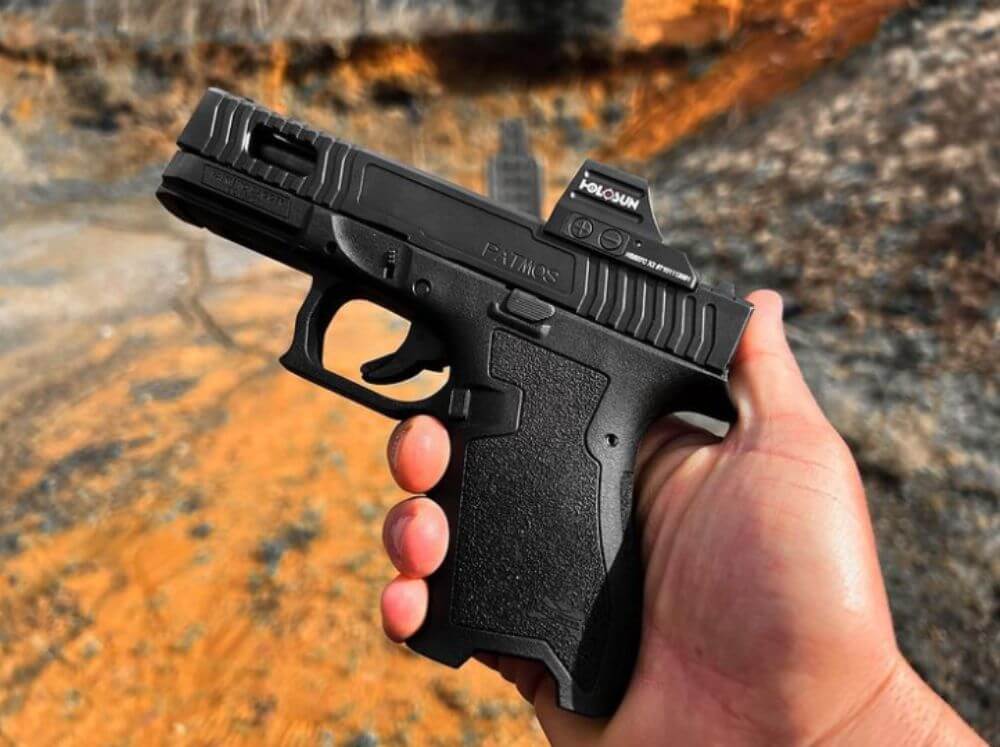
When you install a pull-release trigger on your gun, you’re getting more bang for your buck without permanently modifying the gun or running afoul of federal firearm laws. Our custom Glock trigger doubles your rate of fire while keeping your pistol semi-automatic.
If you want to have more fun with your gun, you need to install a pull-release trigger. This custom Glock trigger keeps your gun a federally legal, semi-automatic weapon while doubling its rate of fire. This lets you experience rapid-fire fun while remaining in complete control of the weapon using your accustomed shooting stance and sights. Installing a trigger is a beginner-friendly process that most gun owners can handle in less than an hour, even if they’ve never worked on a firearm beyond basic cleaning. It’s time you got more bang for your buck from your Glock-type pistol.
Fully Compatible Trigger System
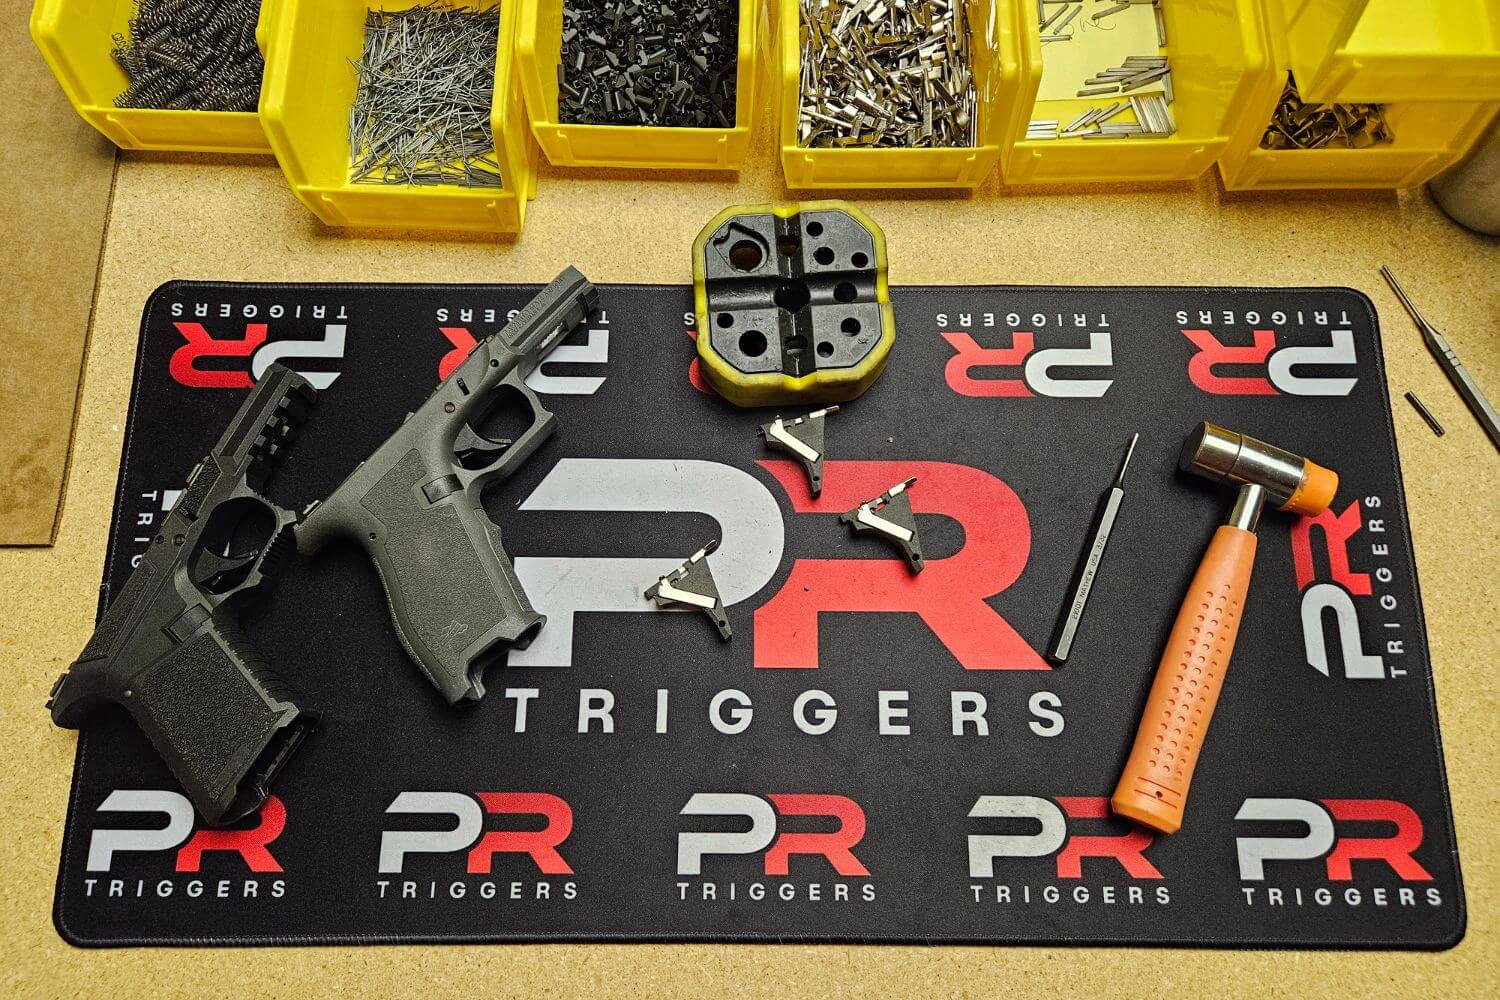
Our pull-release trigger system was engineered for installation on Glock pistols that have exacting tolerances, but it also works on compatible third-party frames. This includes popular 80% lower receivers like those offered by Polymer80 and 3D-printed frames using compatible files from trustworthy sources such as Defense Distributed. Whether you buy your gun or make your gun, we believe responsible gun owners should be able to have more fun with their guns.
Pull-Release Triggers Explained
Conventional semi-automatic triggers fire a round when the trigger is pulled, and you have to release it in order to reset the trigger to engage the sear for the next round. Pull-release triggers fire a round when pulled and reset when they reach the end of their travel. When you release the trigger, another round is fired and the trigger resets again once it is fully released. The result is a single round being fired for each purposeful trigger action–pull and release. By retaining this semi-automatic action, your custom Glock trigger avoids the need for expensive NFA fees for modifying your weapon and the intrusive background checks that go with them.
How to Install a Glock Trigger
We’ve engineered our pull-release trigger to make installation as easy and straightforward as possible. It requires minimal tools, and in most cases, it should take no more than an hour to have your gun ready for testing and breaking in.
Unload Your Pistol
Before starting any work on your firearm, unload and make the weapon safe. This means removing the magazine, visually ensuring the chamber is clear, and repeating the process anytime it’s out of your eyesight or custody.
Prepare Your Workspace
You’ll need a clean gun, a clear workspace, and a small punch for removing and reseating pins. You may also want to gather a few small baggies for retaining OEM parts in case you want to reinstall your original trigger group later. While fun at the range, we don’t recommend pull-release triggers for everyday carry use. Some gun owners prefer to install their custom Glock trigger temporarily when they get ready for range time and swap it back afterward so their firearm has a standard trigger for home or self-defense.
Remove the Slide and Your Existing Trigger Group
Installing a pull release trigger starts by taking the slide off, then removing the trigger pin, locking block pin, locking block, slide stop, and trigger housing pin. Set aside the OEM conventional semi-automatic trigger group and store it in a safe place. The remainder of the removed parts and pins will be used in the installation of your custom Glock trigger.
Carefully Remove the Pull Release Trigger from Its Package
As you take your custom trigger from the box, use light, firm pressure to hold the housing in place. While it can be reassembled if any parts unseat, it’s easier and quicker to keep them in place with your fingers.
Install the new Glock Trigger
Slide the housing into the frame, securing it with the trigger housing pin. Re-install the locking block and secure it with the dumbbell-shaped locking block pin. Insert the slide stop under the locking block pin, align the trigger and slide stop, then secure them with the trigger pin. You’re halfway done with your pull-release trigger installation.
Remove the Back Plate from Your Slide
Once the back plate is removed, slide out the striker and extractor depressor plunger. This will also let you remove the extractor, striker safety plunger, and striker safety plunger spring. Set aside your striker safety plunger and back plate with your conventional trigger so you have all removed components handy for future re-installation.
Install Your PR Triggers Striker Safety Plunger
The new striker safety plunger is directional. On the surface of the plunger, you’ll see an engraved arrow that will be installed pointing toward the muzzle of the weapon. Insert the striker safety plunger spring into the cup on the base of the striker safety plunger. Ensuring the spring stays seated and the arrow is pointing toward the muzzle, inset the safety plunger into the slide and retain it by reinstalling the extractor.
Reassemble Your Pull-release Trigger Slide
The striker and extractor depressor plunger can be slid back into the slide, and the provided red PR Trigger back plate should be installed to complete your slide assembly. While you can use your normal back plate, the brightly colored plate provided gives you a visual indicator that the gun in your hands is currently modified with a pull-release trigger. This can help prevent accidentally grabbing the wrong weapon or forgetting you have a gun that commits to firing a second round after the trigger is pulled. We strongly recommend using this back plate as a safety precaution.
Final Assembly and Testing
Ensure the guide rod is properly seated in its half-moon indentation, and install your slide on the frame as normal. Cycle the slide and pull the trigger to release the striker, holding it at the end of its travel. Cycle the slide again, then release the trigger, in the process releasing the striker for a second dry fired shot. Repeat the process around 100 times to ensure all parts are properly seated and moving freely within your pistol’s unique geometry. Avoid “riding” the sear breakover to minimize travel. This can lead to a failure to reset that robs you of a shot.
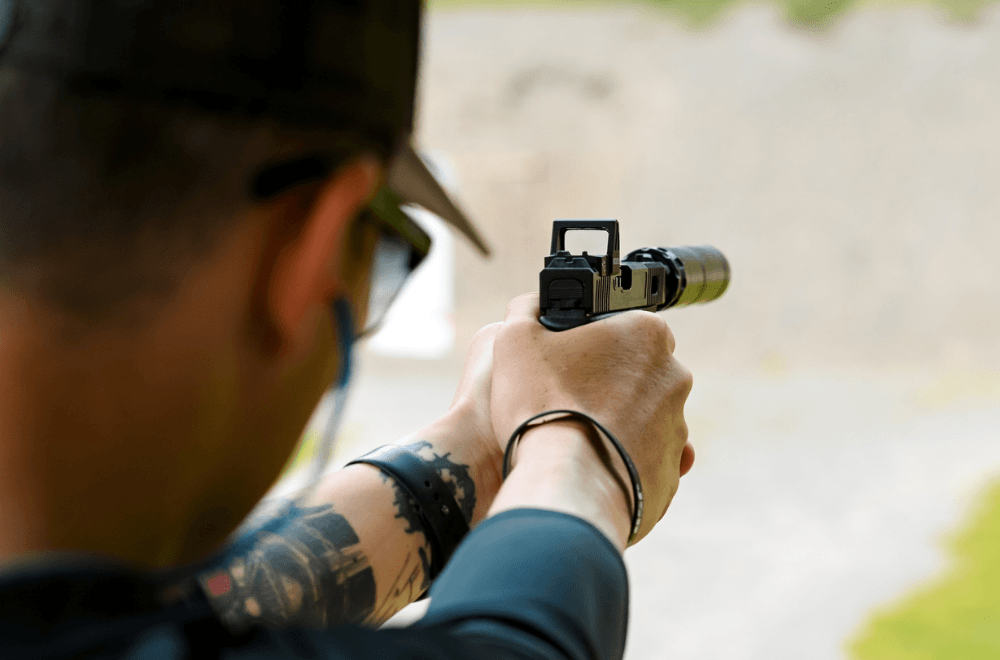
Run Your Custom Glock Trigger at the Range
After your dry-fire cycling, it’s time to hit the range and put some rounds on the paper. Wear PPE, follow all range and gun safety rules, and start slow. Remember, you aren’t just testing out your Glock trigger install but also training yourself with a new weapon configuration.
Get Your Pull Release Trigger and Have Some Fun
Make sure you have a gun that’s ready to rock and roll. Sign up for our newsletter to stay informed about new models of our pull release triggers and get sales prices delivered to your inbox. Order your custom Glock trigger from PR Triggers today.
A pull release trigger fires one round on the trigger pull and another on release, creating a unique shooting rhythm while maintaining semi-automatic operation. Learn how it works and how it differs from traditional trigger systems.
Looking to upgrade your Glock? Explore the top performance upgrades for 2026, including trigger systems, optics, and components designed to improve control, accuracy, and overall shooting experience.